
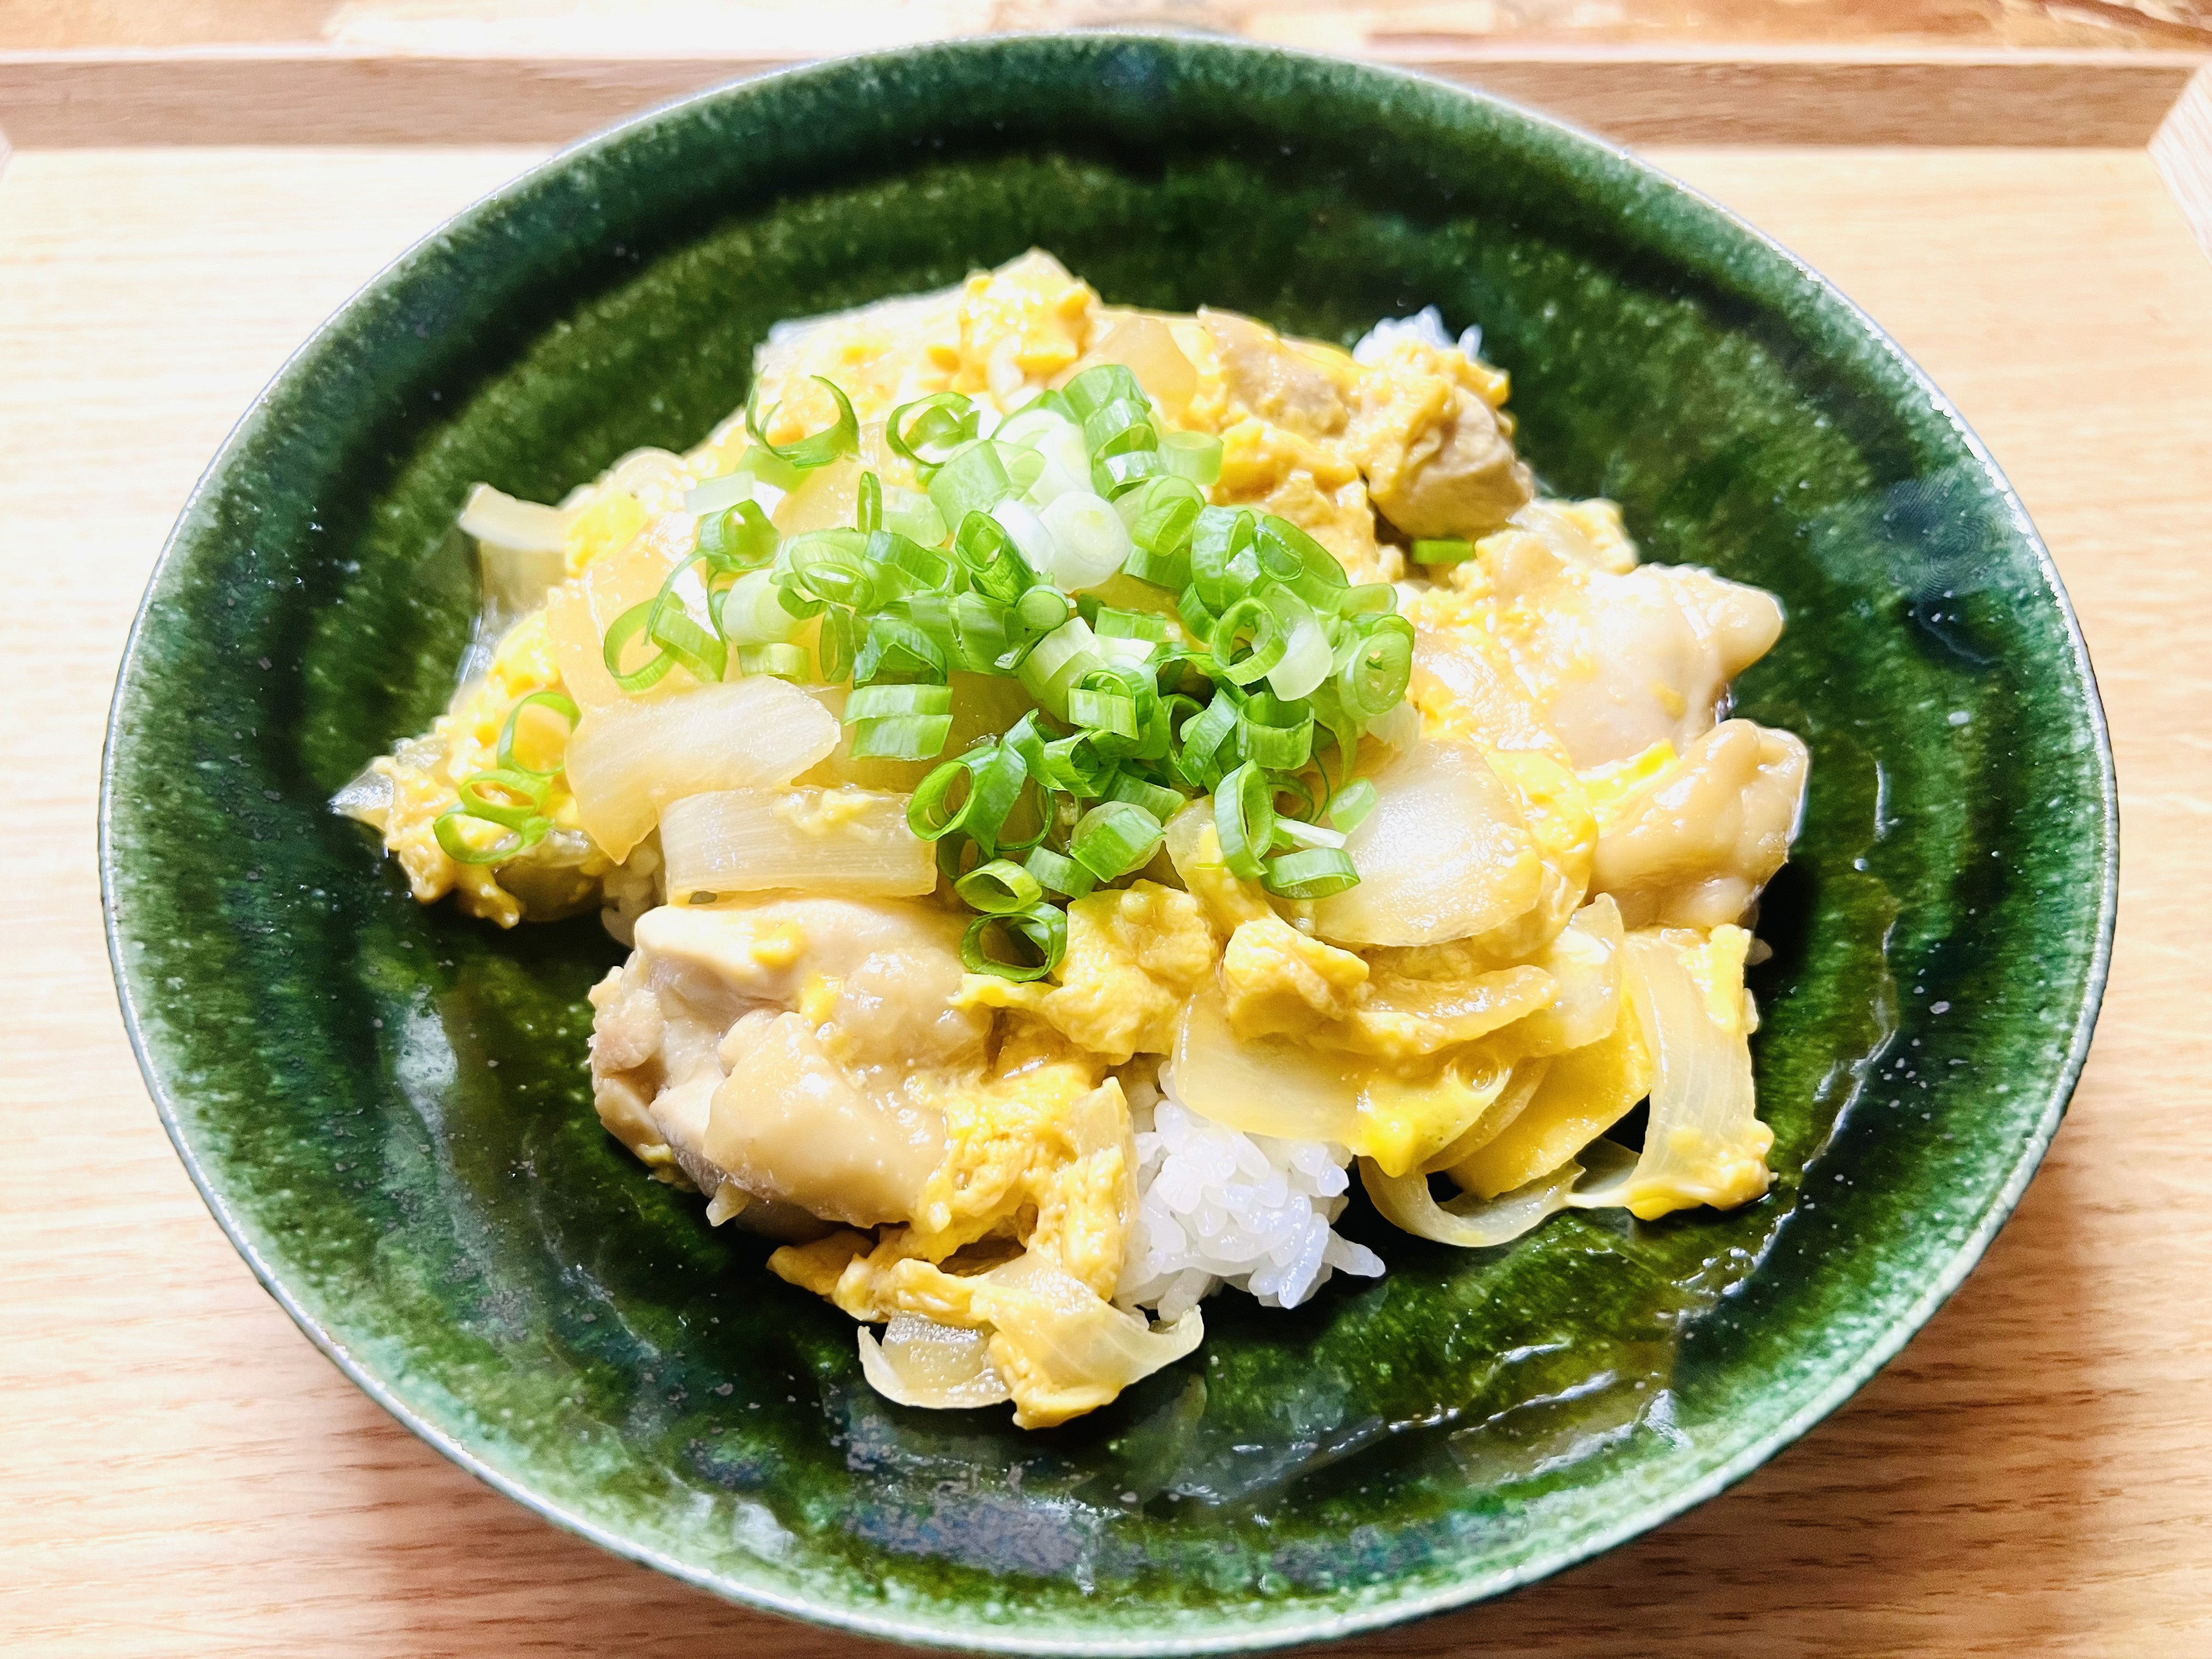
Oyakodon, comfort Japanese dish
Time: 30 minites
Its name, translates to "parent-and-child bowl,"
pays homage to its main ingredients,
chicken and egg.
Utilising a combination of tender chicken, eggs, andflavourful broth all simmered together,
then served over a bowl of fluffy steamed rice.
Simple yet rich in taste, like salty, soy saucy , sweet and Dashi ( Japanese broth).
Oyakodon offers a warm culinary embrace for the whole family.
Oyakodon are ….
1.Effortless Preparation:
Dive into the realm of Japanese cuisine with our straightforward Oyakodon recipe. Whether you're cooking for a few or many, this dish adapts seamlessly. All you need is a pan—choose the size that suits your needs, and you're good to go. Follow our simple cooking directions to whip up a delightful meal in no time.
2.A Satisfying Feast:
Our Oyakodon is not just a meal; it's a journey for your taste buds. The magic lies in the dashi—a traditional Japanese broth, mingling harmoniously with the savory essence from the chicken, creating a comforting bowl that satiates both hunger and the soul.
3.Kid-Approved Delicacy:
The sweet and salty fusion in our Oyakodon recipe is bound to be a favorite among the little ones. The tender chicken chunks, enveloped in a lightly sweet, savory broth, create a taste profile kids adore.
4.A Spicy Twist for Adults:
Elevate your Oyakodon experience by sprinkling some authentic Japanese spices like Shichimi or Ichimi Togarashi. These spices introduce a warm heat and a flavor complexity that adults appreciate, making this dish a versatile choice for the whole
family.
Wait a Minute!
Before You Start Cooking,
Here’s a Little Secret:
It’s All About the Order of Seasoning!
I recently had a guest in my cooking class who shared his struggle with making Oyakodon.
Despite his best efforts, it turned out a bit too salty.
I was touched by his story and eager to help solve this little hiccup.
This brings us to the heart of the matter.
Making a comforting bowl of Oyakodon boils down to two main things:
the order in which you add the seasonings, and the level of heat you use.
First off, the
seasoning sequence is your best friend in this culinary journey.
It’s a simple step, yet it makes a world of difference in achieving that perfect balance of sweet and salty we all love in Oyakodon.
First, add the broth and mirin to the pot.
Then, after those have simmered together, add the soy sauce at the end.
It's important not to add the soy sauce at the beginning, as it could alter the flavor of the dish.
Next up is the heat.
After you’ve added the seasonings, it’s important not to get too carried away with the boiling.
A gentle simmer is all you need to let the alcohol from the mirin and sake evaporate.
There's no need for a rolling boil.
Just a calm, gentle heat will do the trick, preserving the tender, juicy goodness of the chicken.
So, remember these two points as you venture into the delightful world of Oyakodon.
A mindful approach to seasoning and a gentle touch on the stove will lead you to a satisfying, home-cooked meal.
Happy cooking!
How to make Oyakodon
( Please remember that I mentioned before)
The ingredients
2 servings
Chicken thigh meat: 140g
Onion: 40g
Eggs: 4
Broth: 100g
Mirin: 4 tablespoons
Soy sauce: 1 tablespoon
Cooked rice
For marinating chicken:
Salt: a pinch
Sake: a little
Toppings( Option):
Green onions: a little
Shredded nori (seaweed): a little
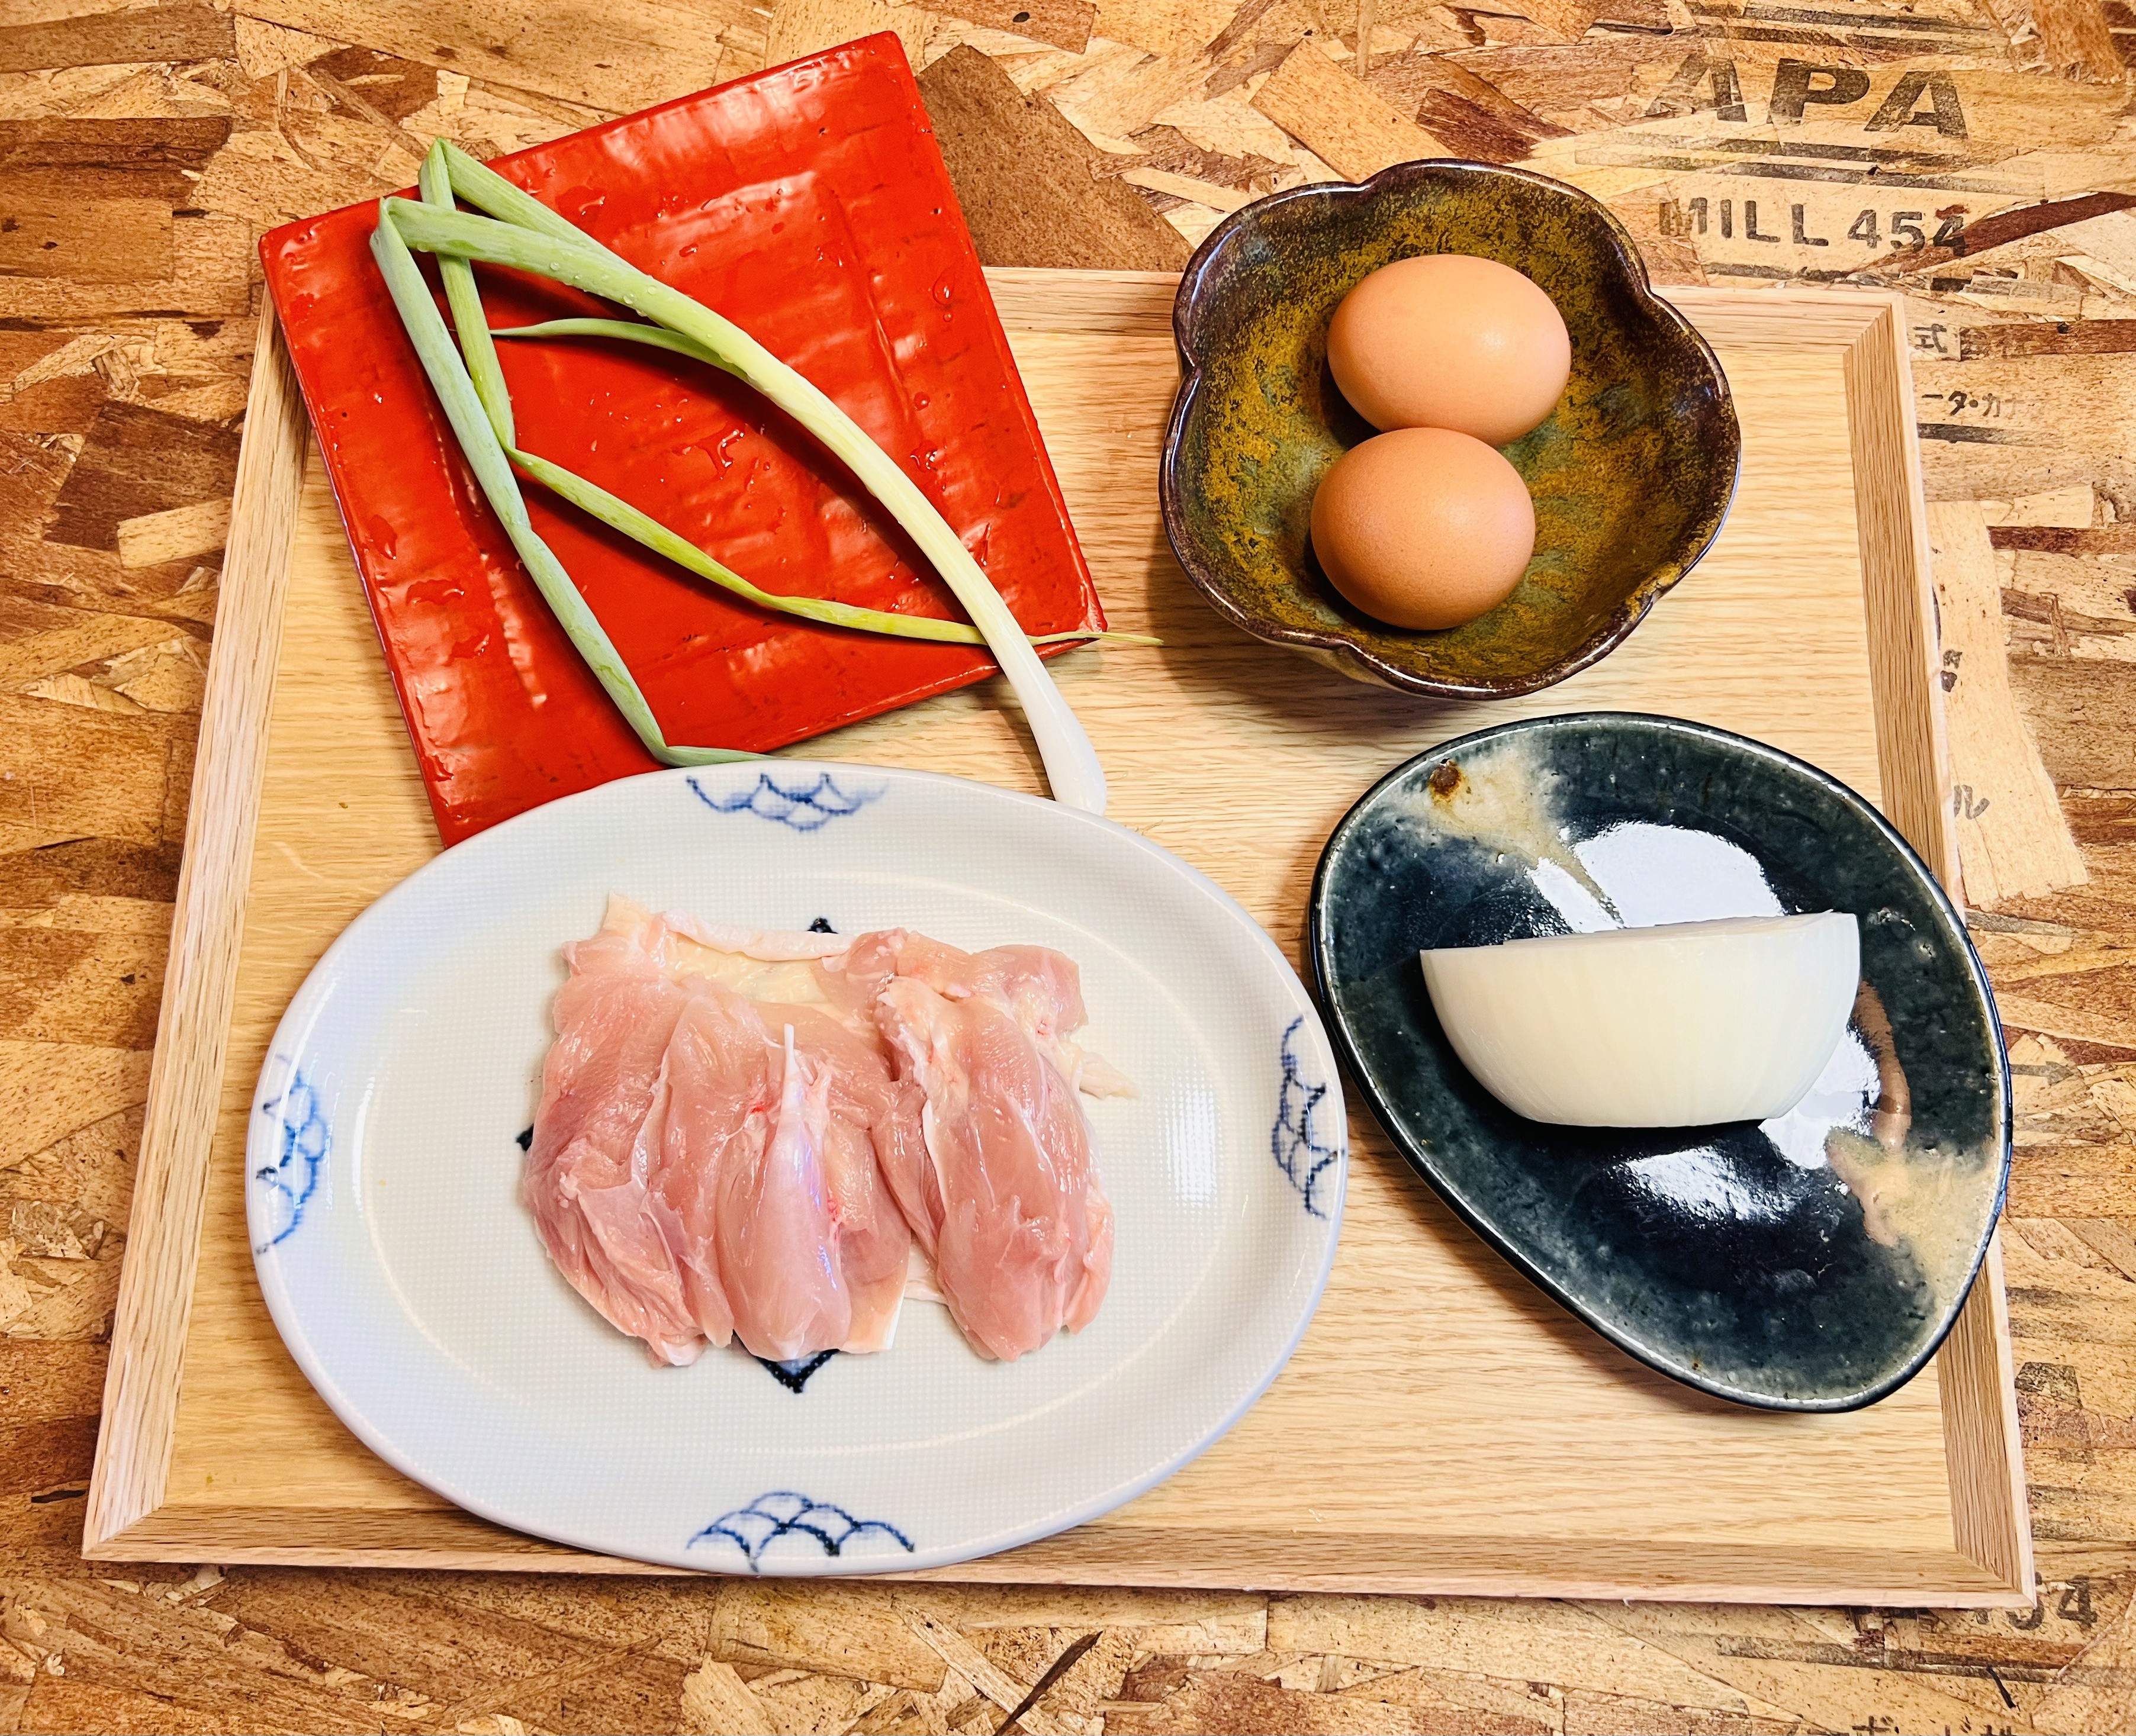
It's very simple ingredients.
Directions Step by step!
1.Slice the chicken into thin strips and marinate with the seasoning.

By slicing the chicken at a right angle to the grain, it becomes tender and easier to eat. Sogigiri (thin slicing) increases the surface area, making it easier for the flavors to penetrate and enhancing the umami, which is one of the advantages of this cutting technique.
2.Sprinkle salt on the chicken and rub it lightly. Then sprinkle sake over it and let it rest in the refrigerator for about 10 minutes.
Salt: Enhances the flavor of the chicken.
Sake: Removes any gamey odor from the chicken and helps to tenderize the meat.
3.Place the seasoning ingredients (excluding soy sauce), chicken, and onion in a pan, then place it on the heat.

4.Once it brings to a boil, reduce the heat to low and flip the chicken over.
5.Add soy sauce and simmer for about 5 minutes.
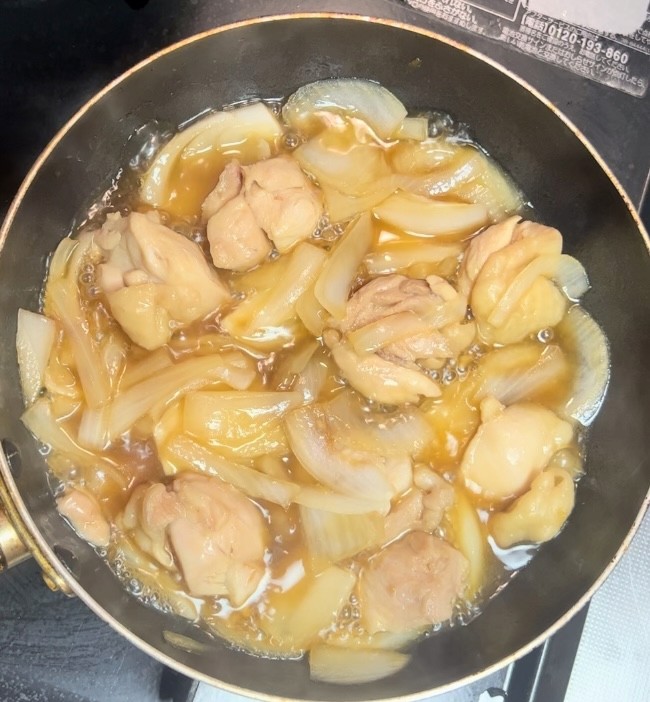
It's important to manage the heat. Once you add the soy sauce and it brings to a boil, reduce the heat to low and gently cook the chicken for 5 minutes, keeping this in mind.
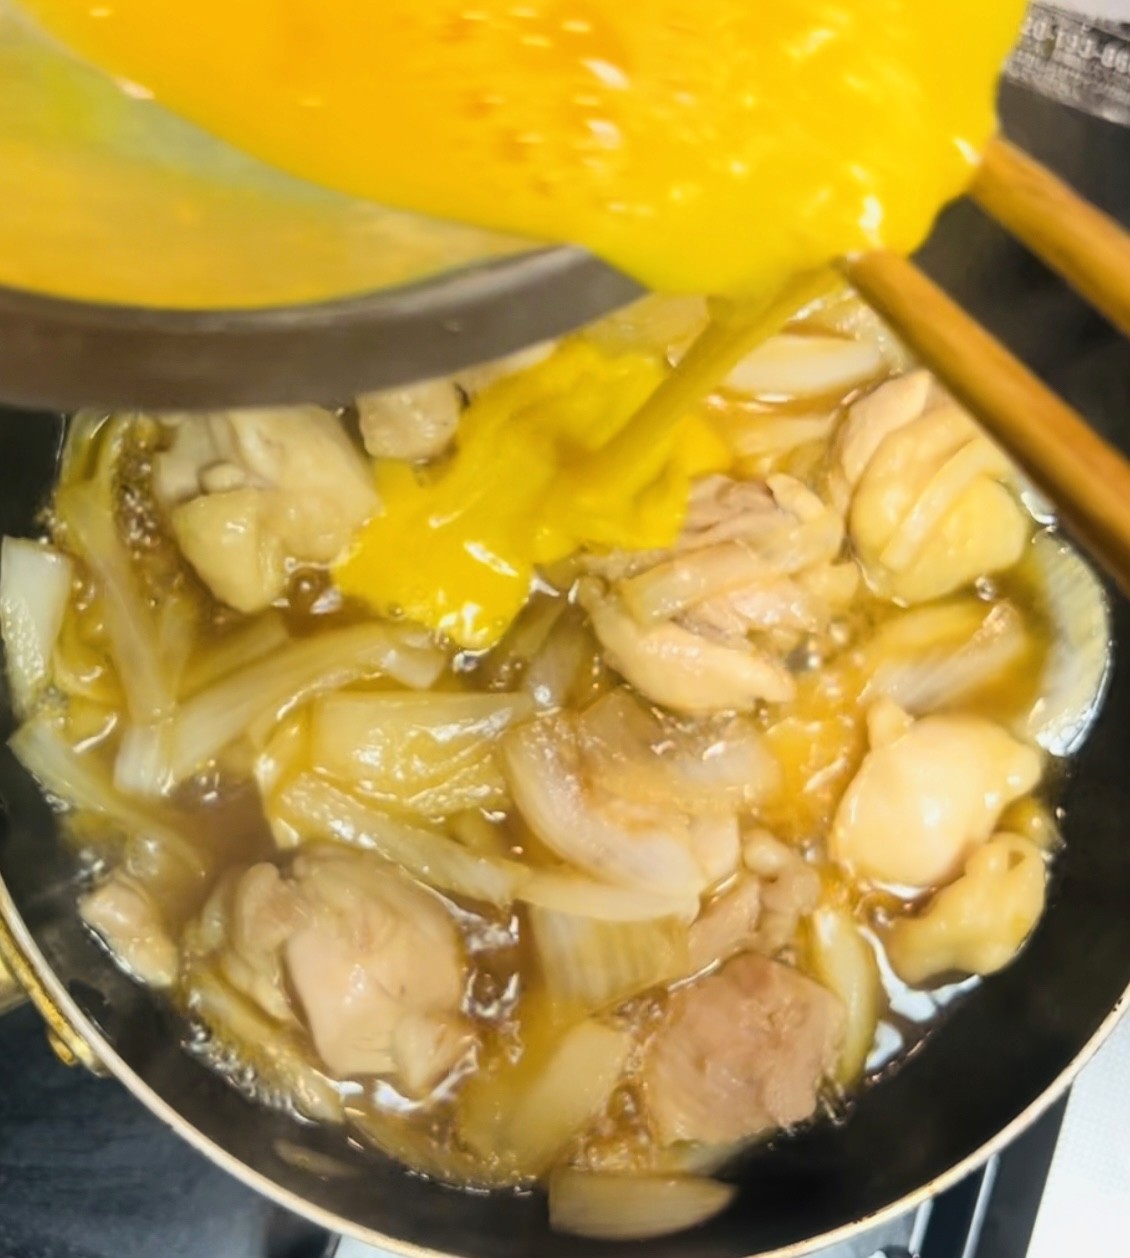
6.Beat the eggs, then add them to the frying pan in two portions.
The goal is to create an Oyakodon with soft, partially cooked eggs on top.
7.Now, it's ready to be served!
Have you tried this recipe?
Share your culinary creation by snapping a photo
and tagging it with#yukijapanesecookingclass. !
I can't wait to see your masterpieces on Instagram!
Tag me at @yukijapanesecooking_class!
Instructions
Slice chicken into thin strips,
marinate with salt and sake,
refrigerate for 10 minutes.
In a pan,
combine chicken,
onion, broth, and mirin;
bring to boil,
then reduce heat and flip chicken.
Add soy sauce,
simmer for 5 minutes on low heat.
Beat eggs,
add to pan in two portions aiming
for partially cooked eggs on top.
Serve hot and enjoy!
Step 1